OPS Network Agency – Quick Setup Guide – STEP 2
Setting up your Staff & User Permission Groups
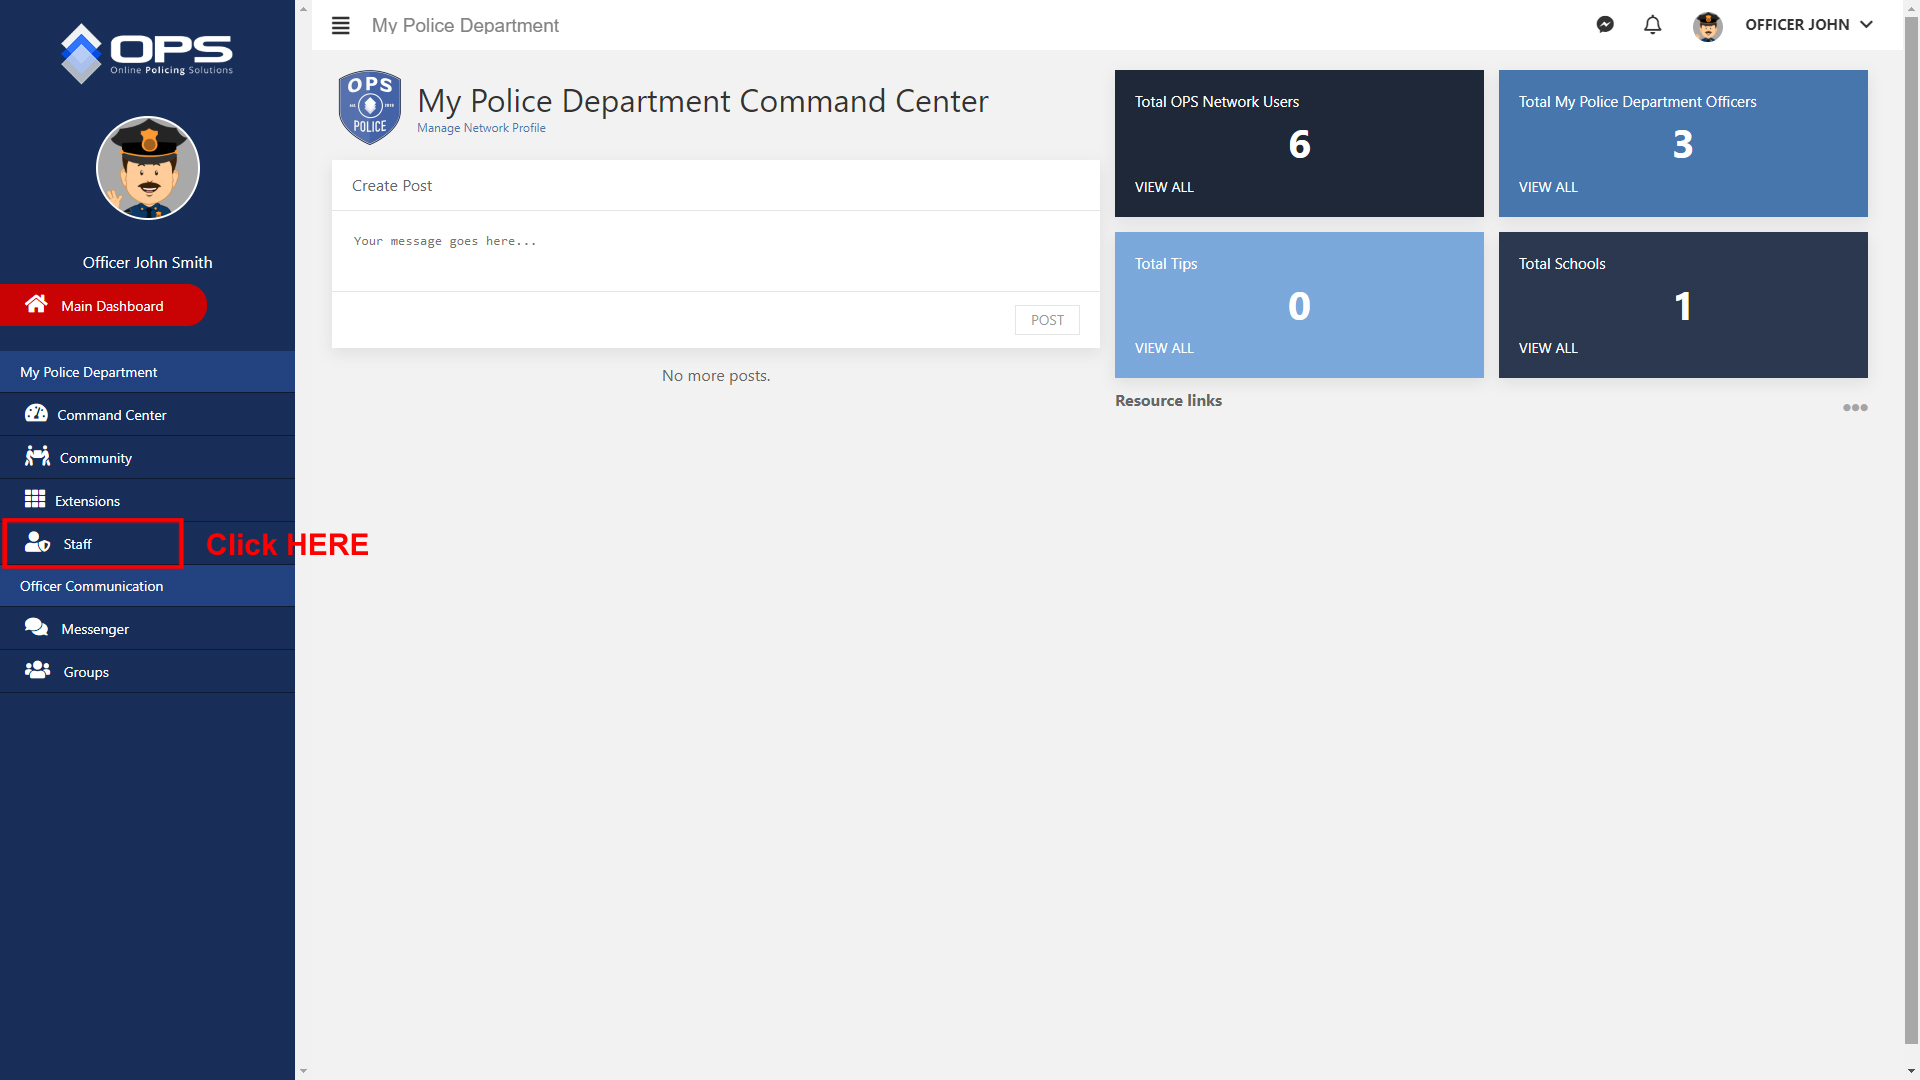
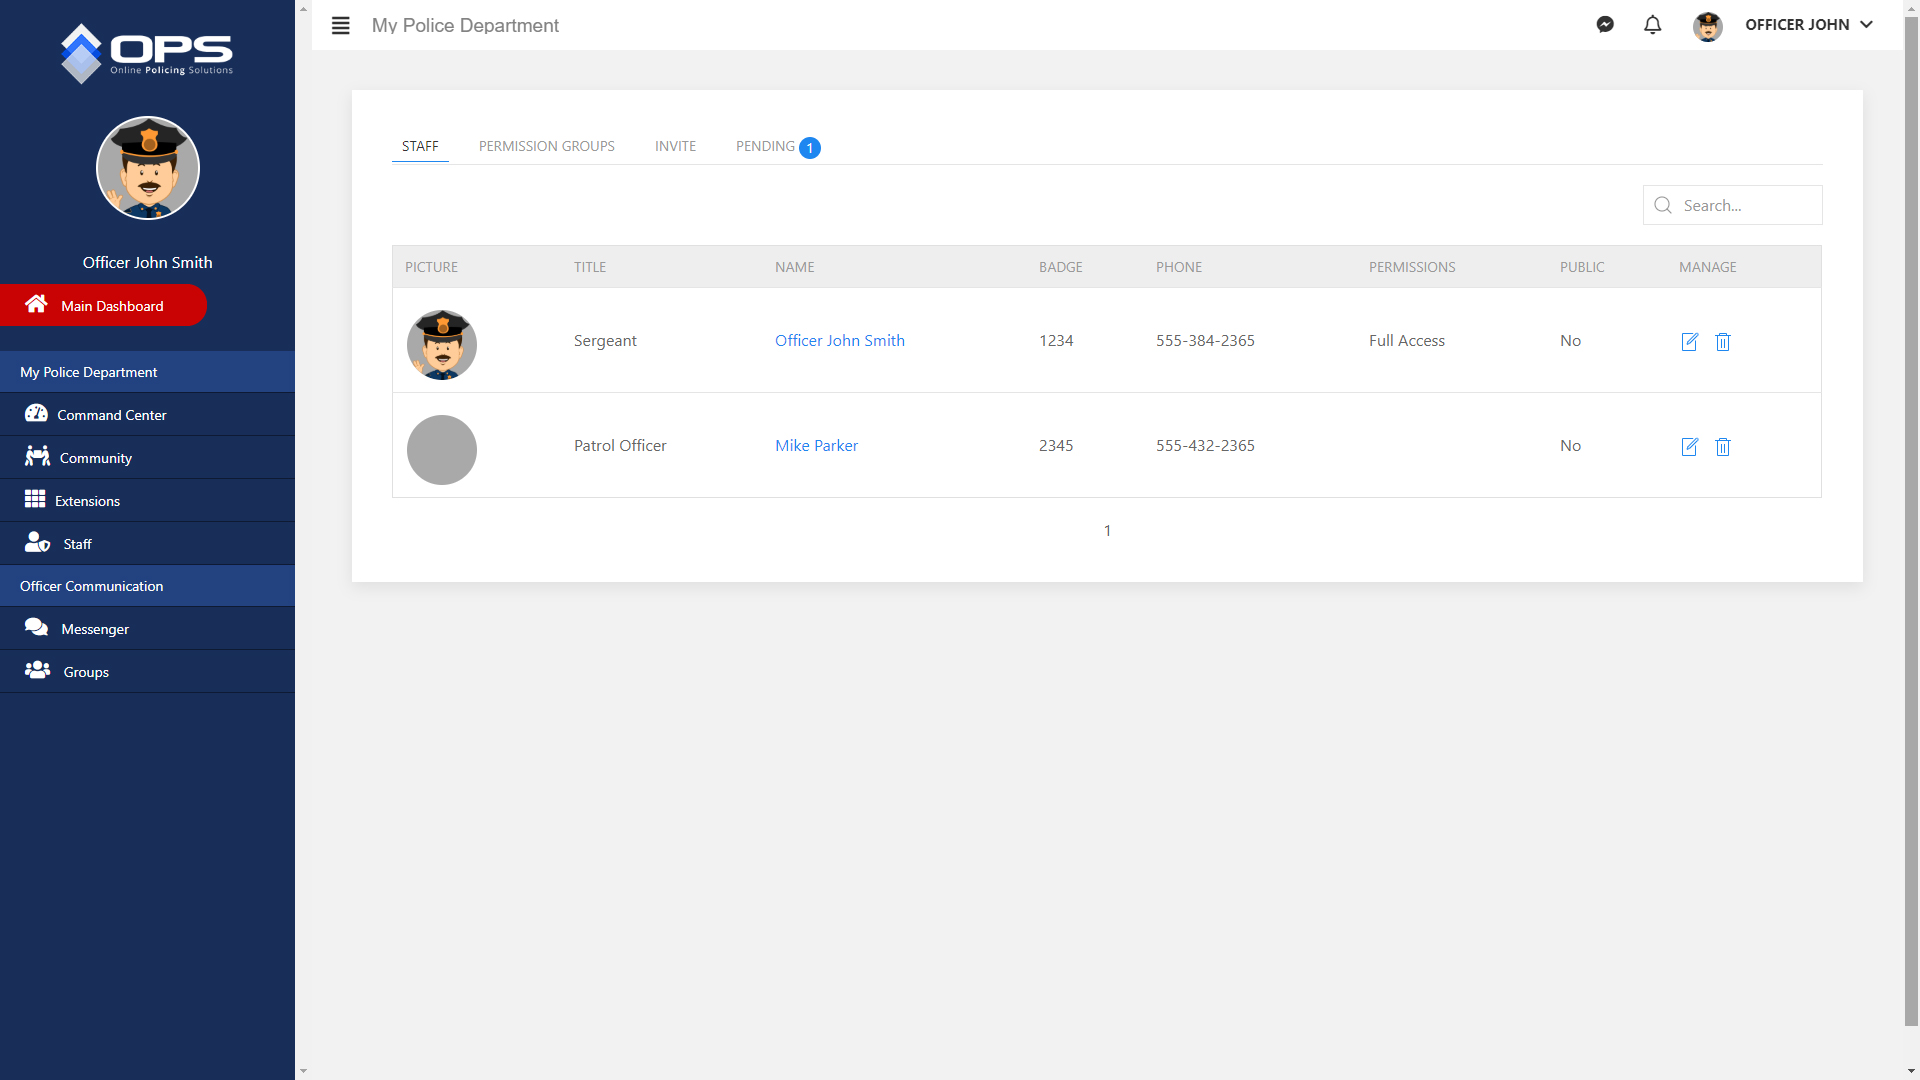
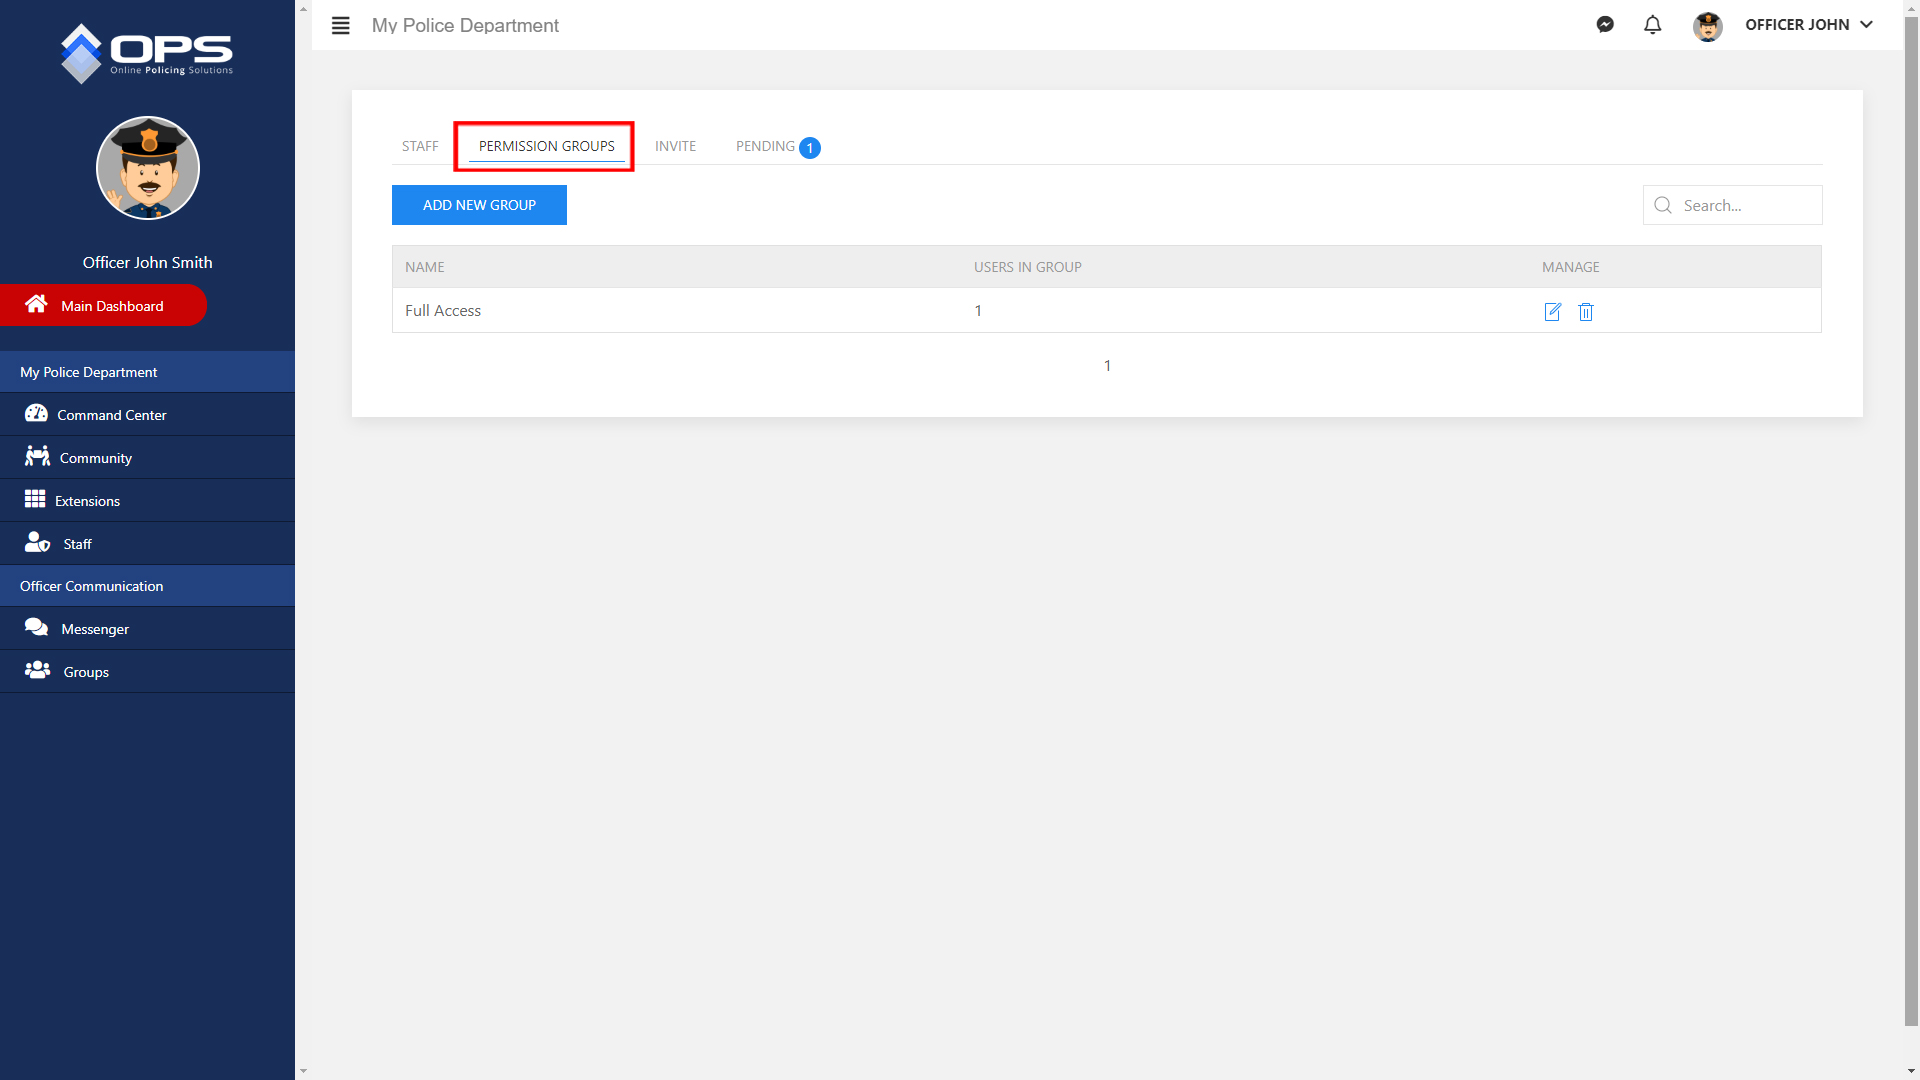
3. You will see your listed staff. Click on Permission Groups. You will then find a list of pre-loaded Permission Groups. These Permission Groups are the most commonly used for most users. However, agency administrators can modify these or create any number of custom Permission Groups to suite your needs. (Click below images to view) ↳
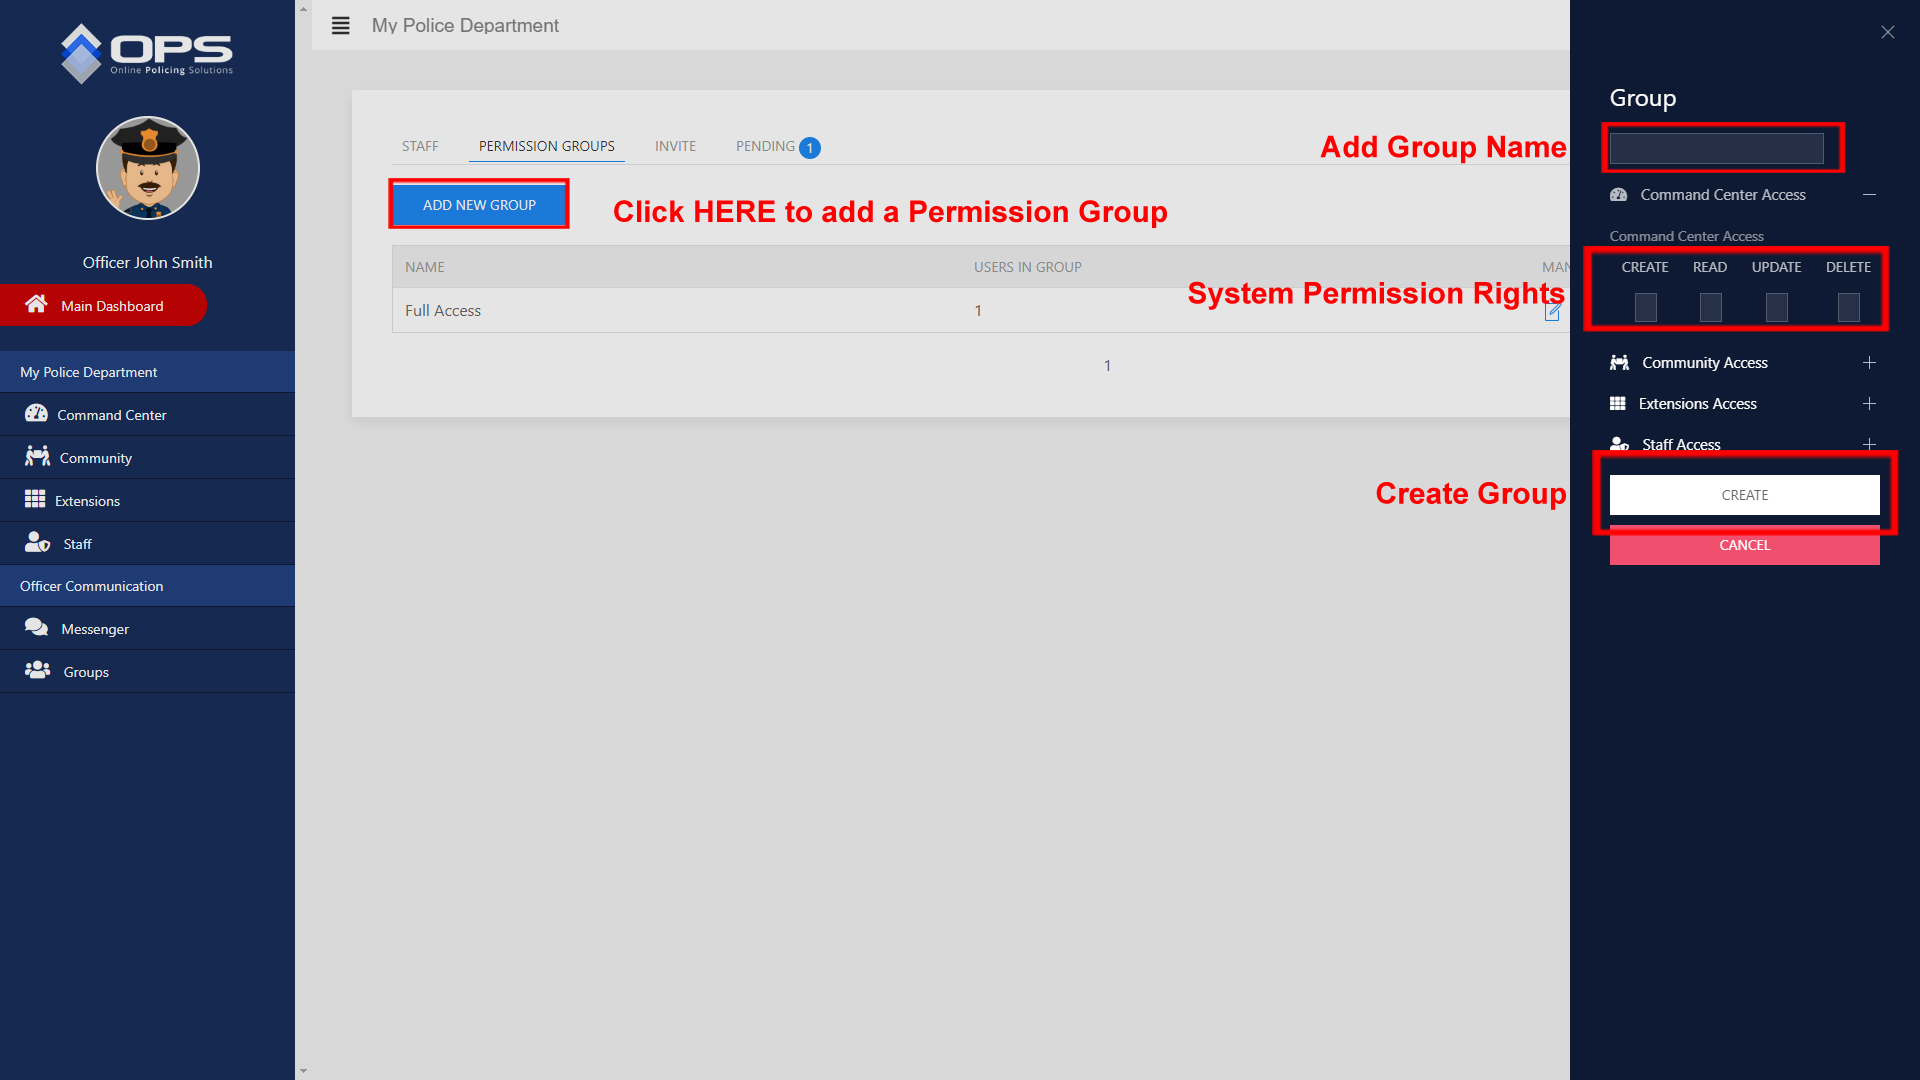
4. To create a new Permission Group, click on the blue button labeled “Add a New Group”. Once you do, a menu will pop up. You can then name the group and set the rules for that group by expanding each part of the OPS Network section (Command Center, Community Access, Extensions, Staff). Each module, extension, staff access and the Command Center allow you to set:
- Create: User can add information to the tool or module.
- Read: User can read the information.
- Update: User can update existing information.
- Delete: User can delete information.
Example: Alerts Module – Create ✓ Read ✓ Update ☒ Delete ☒
In this example, the user would be able to create and read an Alert but would not be authorized to update an existing Alert or delete anything in the Alert Module.
Once you have created a Permission Group, click the white CREATE button.
To edit a Permission Group, click on the pencil icon next to the desired group and edit accordingly as described above. (Click below image to view) ↳
6. New users can register with the OPS Network and send your agency a request to join. This is the most common way you will be adding a user to your network.
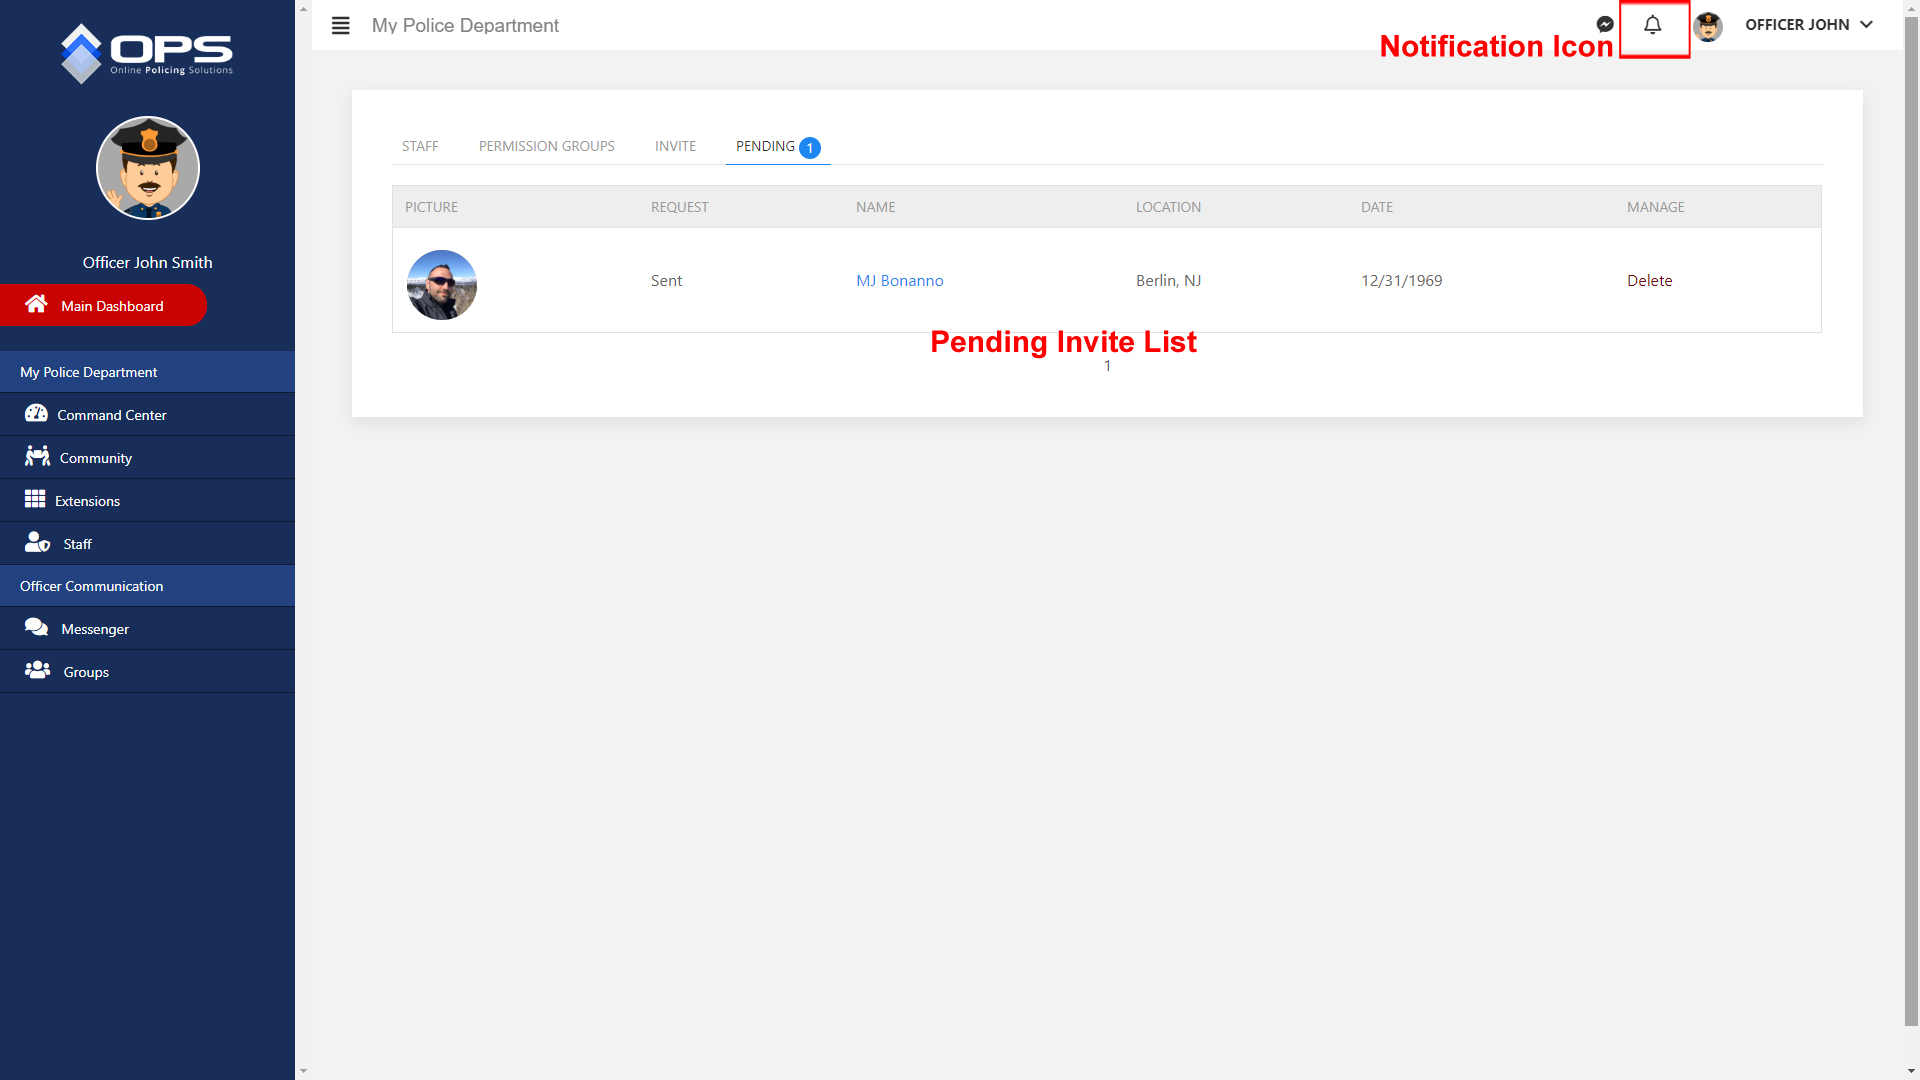
If a user sends you an invitation, you will receive a notification in the bell icon at the top of the screen and that user will appear in the Pending tab in the Staff area. Once you review the user, you can Approve or Deny access. If you approve the user, you can then set them up as a user in your network. (Click below image to view) ↳
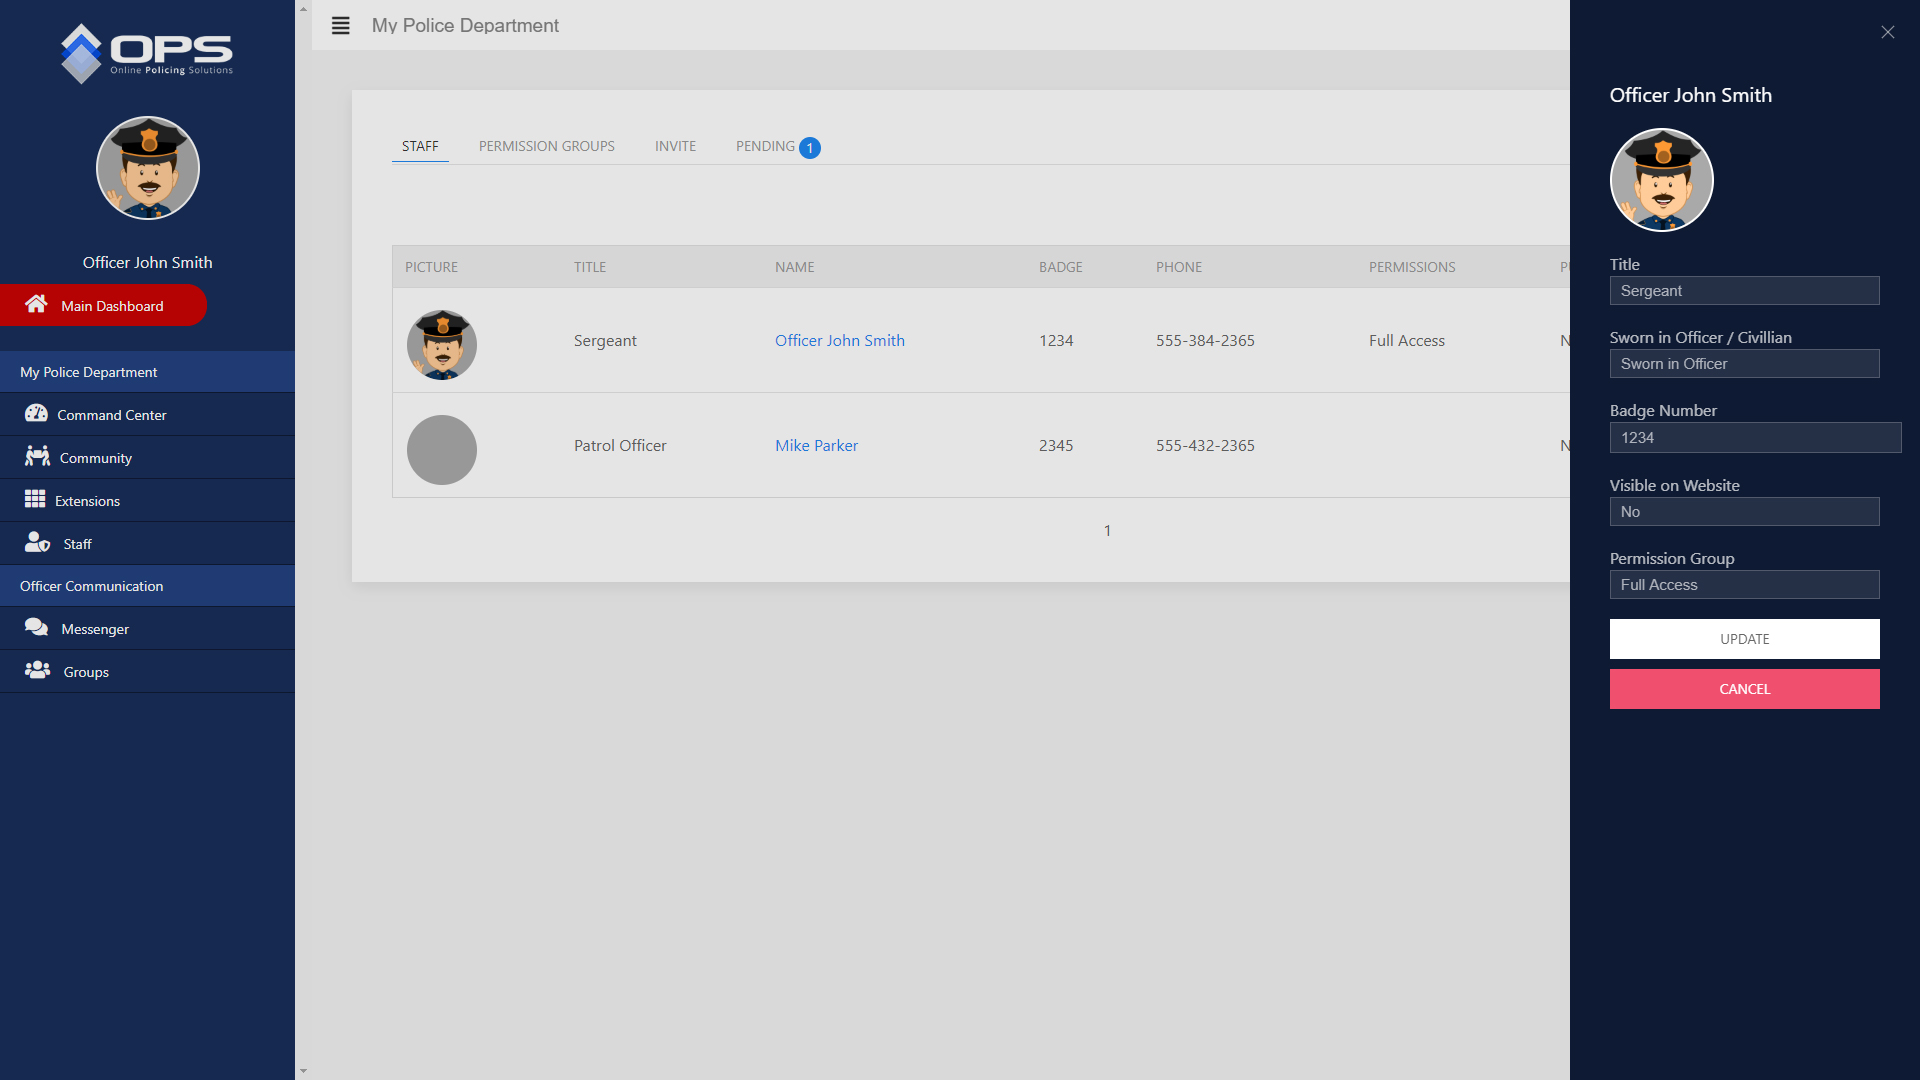
7. To set up a user and assign a Permission Group to that user, go to the Staff tab. In this tab, you will see a list of approved officers.
Click on the pencil icon to the right of the user and a menu will pop up with the following fields:
- TITLE: Add the users rank from the drop down list.
- SWORN IN OFFICER/CIVILIAN: Choose one.
- BADGE NUMBER: Add the users (sworn members) badge number.
- VISIBLE ON WEBSITE: Choose YES if this member should appear on your websites Command Staff page.
- PERMISSION GROUP: Assign the appropriate Permission Group for this user.
(Click below image to view) ↳
8. The agency administrator can also invite registered OPS users into their agency network.
To send and invitation to a user: Click on the Invite tab and search for the user. Click on the +Invite button, located next to the users name, and a menu will appear. Fill in the below information:
- TITLE: Add the users rank from the drop down list.
- SWORN IN OFFICER/CIVILIAN: Choose one.
- BADGE NUMBER: Add the users (sworn members) badge number.
- VISIBLE ON WEBSITE: Choose YES if this member should appear on your websites Command Staff page.
- PERMISSION GROUP: Assign the appropriate Permission Group for this user.
Once you have completed the above, click on the white button labeled SEND INVITATION.
The user will receive a notice and once they accept the invitation, they will be added to you staff list.